Understanding Your Elastics
Elastics apply gentle, targeted pressure to help guide your teeth and improve the way your upper and lower jaws fit together. Wearing them consistently and exactly as instructed is an important part of keeping your orthodontic treatment progressing as planned.
SMALL BANDS THAT MAKE AN IMPORTANT DIFFERENCE
Wearing Your Elastics
CONSISTENCY IS THE KEY
During orthodontic treatment, Dr. Agapas may ask you to wear elastics to support specific tooth movements or improve your bite. Your elastic pattern will be selected for your individual treatment needs, so it is important to attach them only to the hooks shown by our team. Unless you are given different instructions, elastics should be worn 24 hours a day, including while sleeping. They may be removed briefly while eating, but they should be placed back immediately afterward. Consistent wear is essential because your teeth may begin moving back toward their previous positions when elastics are left out for extended periods.
Elastics gradually lose their strength and stretch throughout the day. Replace them twice daily, usually at breakfast and supper, so they continue applying the intended pressure. Always carry an extra bag with you in case an elastic breaks or needs to be replaced. Please
call or
email our clinic if you are unsure how to wear your elastics, experience difficulty attaching them, or need additional bags.
There are several ways elastics may be connected depending on the tooth movement or bite correction required. The descriptions below are general examples. Always follow the specific pattern and instructions provided by Dr. Agapas and our orthodontic team.
Types of Orthodontic Elastics
UNDERSTANDING YOUR RECOMMENDED ELASTIC PATTERN
Orthodontic Elastics
-
Type 1 ElasticsLearn More List Item 1
Type 1 elastics are worn along either the upper or lower teeth. They usually connect from a hook near the back molar to a hook located farther forward on the archwire. This pattern applies pressure within the same dental arch to help guide individual teeth or groups of teeth into their planned positions.
-
Type 2 ElasticsLearn More
Type 2 elastics usually connect from a lower back molar hook to a hook on an upper front tooth. This pattern applies pressure between the lower and upper teeth and may be recommended to help improve their relationship as your bite develops throughout treatment.
-
Type 3 ElasticsLearn More
Type 3 elastics usually connect from an upper back molar hook to a hook on a lower front tooth. This arrangement applies pressure in the opposite direction from Type 2 elastics and may be used to guide the upper and lower teeth toward a more balanced bite.
-
Type 2 Triangle ElasticsLearn More
Type 2 triangle elastics usually connect from a lower back molar to a hook on an upper front tooth, similar to a standard Type 2 elastic. The band also connects to another lower tooth, creating a triangular pattern that provides additional vertical and directional control.
-
Type 3 Triangle ElasticsLearn More
Type 3 triangle elastics usually connect from an upper back molar to a hook on a lower front tooth, similar to a standard Type 3 elastic. The band then connects to another upper tooth to form a triangle and apply pressure across several points.
-
Delta ElasticsLearn More
Delta elastics usually connect from one upper tooth to two lower teeth, forming a triangular shape. This pattern may be used to help bring the upper and lower teeth closer together and improve contact in a specific area of the bite.
-
Reverse Delta ElasticsLearn More
Reverse delta elastics usually connect from one lower tooth to two upper teeth, creating an inverted triangular pattern. Like standard delta elastics, they apply pressure across multiple attachment points to help improve the fit between the upper and lower teeth.
-
Carriere ElasticsLearn More
Carriere elastics connect from a lower back molar to the front hook of the Carriere appliance on the upper teeth. These elastics work with the appliance to guide tooth movement and improve the relationship between the upper and lower dental arches.
-
Slingshot ElasticsLearn More
Slingshot elastics are used to help move a tooth forward toward the archwire, often when the tooth is positioned in a crossbite. The pattern may look complicated at first, but it usually becomes much easier after practising the steps shown by our team.
Orthodontic Elastics
-
Type 1 ElasticsLearn More List Item 1
Type 1 elastics are worn along either the upper or lower teeth. They usually connect from a hook near the back molar to a hook located farther forward on the archwire. This pattern applies pressure within the same dental arch to help guide individual teeth or groups of teeth into their planned positions.
-
Type 2 ElasticsLearn More
Type 2 elastics usually connect from a lower back molar hook to a hook on an upper front tooth. This pattern applies pressure between the lower and upper teeth and may be recommended to help improve their relationship as your bite develops throughout treatment.
-
Type 3 ElasticsLearn More
Type 3 elastics usually connect from an upper back molar hook to a hook on a lower front tooth. This arrangement applies pressure in the opposite direction from Type 2 elastics and may be used to guide the upper and lower teeth toward a more balanced bite.
-
Type 2 Triangle ElasticsLearn More
Type 2 triangle elastics usually connect from a lower back molar to a hook on an upper front tooth, similar to a standard Type 2 elastic. The band also connects to another lower tooth, creating a triangular pattern that provides additional vertical and directional control.
-
Type 3 Triangle ElasticsLearn More
Type 3 triangle elastics usually connect from an upper back molar to a hook on a lower front tooth, similar to a standard Type 3 elastic. The band then connects to another upper tooth to form a triangle and apply pressure across several points.
-
Delta ElasticsLearn More
Delta elastics usually connect from one upper tooth to two lower teeth, forming a triangular shape. This pattern may be used to help bring the upper and lower teeth closer together and improve contact in a specific area of the bite.
-
Reverse Delta ElasticsLearn More
Reverse delta elastics usually connect from one lower tooth to two upper teeth, creating an inverted triangular pattern. Like standard delta elastics, they apply pressure across multiple attachment points to help improve the fit between the upper and lower teeth.
-
Carriere ElasticsLearn More
Carriere elastics connect from a lower back molar to the front hook of the Carriere appliance on the upper teeth. These elastics work with the appliance to guide tooth movement and improve the relationship between the upper and lower dental arches.
-
Slingshot ElasticsLearn More
Slingshot elastics are used to help move a tooth forward toward the archwire, often when the tooth is positioned in a crossbite. The pattern may look complicated at first, but it usually becomes much easier after practising the steps shown by our team.
Having Trouble?
FOLLOW THE SLINGSHOT ELASTIC STEPS
Slingshot elastics can feel a little tricky at first, but the process becomes easier with practice. Use the step-by-step images to follow the correct placement in order, making sure the elastic is attached securely to each hook as shown.
Take your time and repeat the steps carefully whenever you replace the elastic. Please contact our clinic if you are unsure about the placement, cannot attach the elastic comfortably, or need additional guidance from our team.
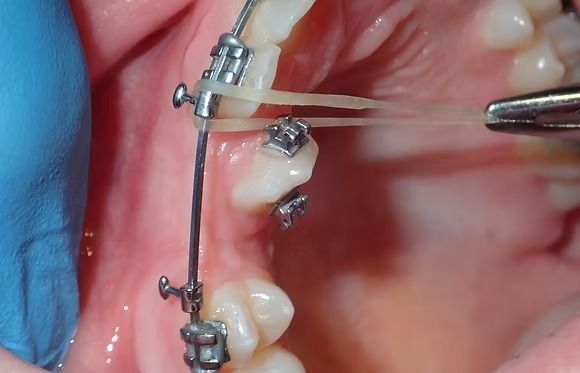
Use the arrows to view each step.
Having Trouble?
FOLLOW THE SLINGSHOT ELASTIC STEPS
Slingshot elastics can feel a little tricky at first, but the process becomes easier with practice. Use the step-by-step images to follow the correct placement in order, making sure the elastic is attached securely to each hook as shown.
Take your time and repeat the steps carefully whenever you replace the elastic. Please
contact our clinic if you are unsure about the placement, cannot attach the elastic comfortably, or need additional guidance from our team.
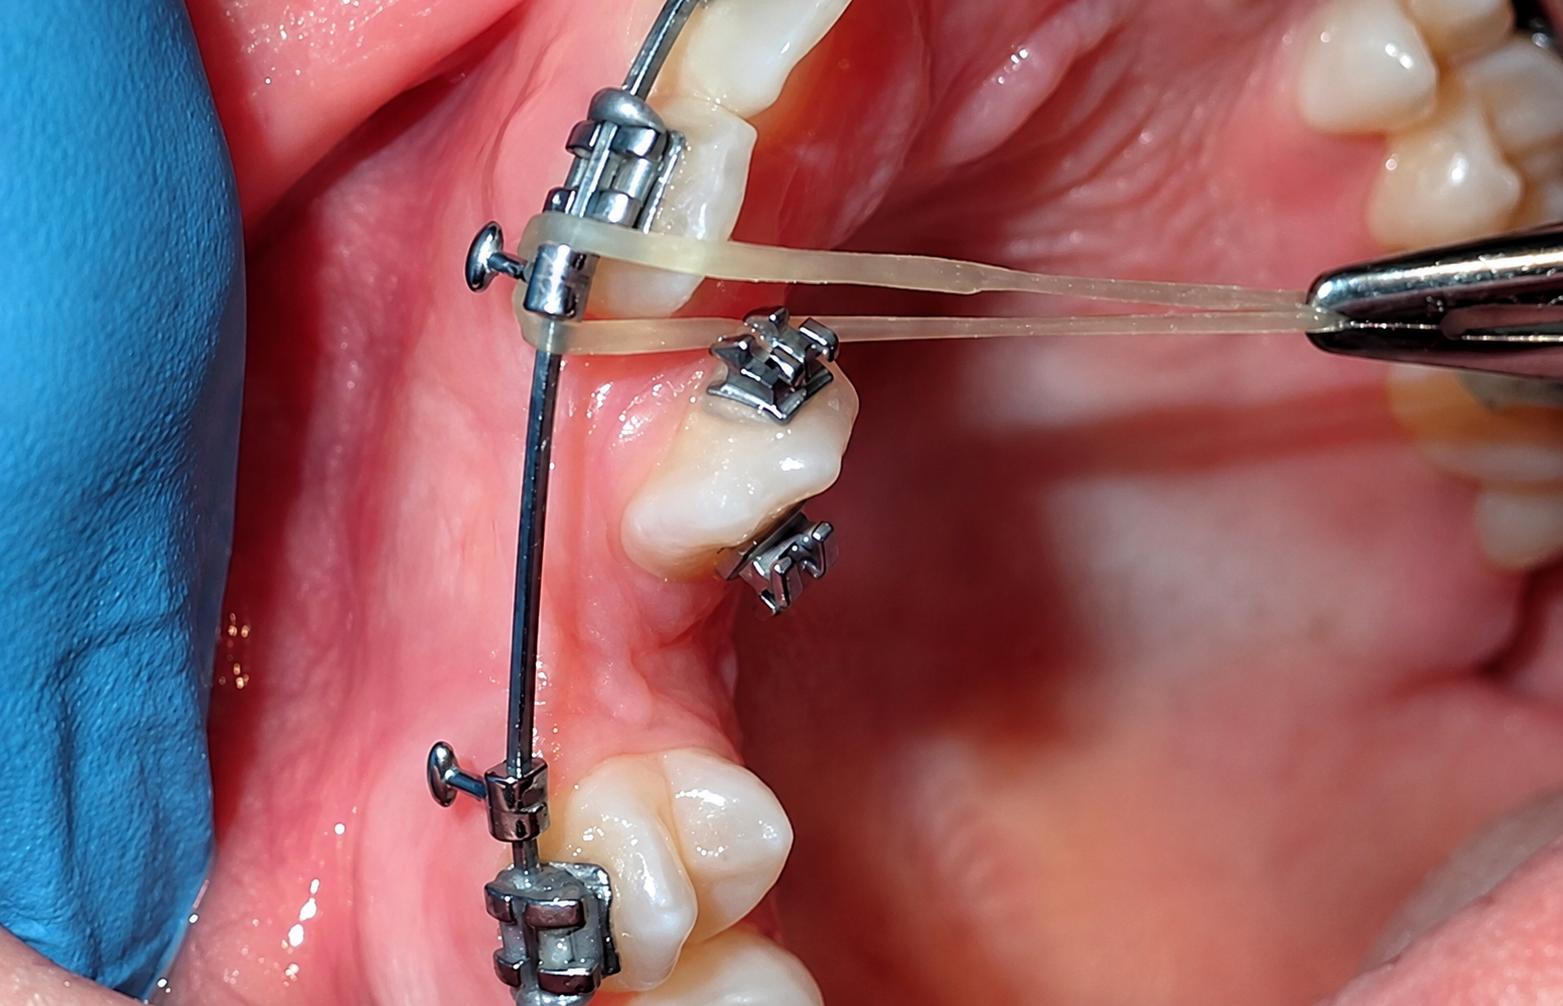
Use the arrows to view each step.